DIY Bong Ideas: Create Your Own at Home
Share
Do you know how easy it is to create your own bong at home? Whether you're an experienced smoker or a curious beginner, making a DIY bong can be a fun, creative, and cost-effective way to enhance your smoking experience. Forget spending a fortune on fancy, high-end bongs from the store – you can create something unique right in the comfort of your own home using everyday household items. In this guide, we’ll explore different ideas and simple steps for building your own bong, including bubble bongs, beaker bongs, and tube bongs. Plus, we'll answer some frequently asked questions about DIY bong making to help you get started!
Why Make Your Own Bong?
Creating your own bong allows you to customize it to your liking, both in terms of design and functionality. You can choose the material, shape, and size of your bong, and you might even discover unique ways to enhance your smoking experience. Moreover, building a bong at home can be a more affordable option compared to purchasing one from a store, especially if you're just starting and don’t want to make a significant investment.
Let’s dive into some DIY bong ideas you can try today.
1. Bubble Bong: The Fun and Functional Option
A bubble bong is one of the most popular DIY bong ideas because it’s simple to make and provides smooth hits. The key feature of a bubble bong is the large base, which creates more filtration and smoother smoke. This kind of bong is often considered a beginner-friendly option due to its ease of use.
Materials You’ll Need:
- A plastic bottle or jar (a larger one works best)
- A glass bowl or a metal socket for the bowl
- A rubber grommet or tape for sealing
- A straw or tubing for the downstem
- Scissors or a knife for cutting
How to Make It:
-
Prepare the Bottle: Take your plastic bottle and cut a small hole near the bottom. The hole should be big enough for your downstem (the tube that holds the bowl) to fit snugly.
-
Make the Downstem: Take a straw or a piece of tubing, and insert one end into the hole you created in the bottle. Ensure it’s airtight by sealing it with tape or a rubber grommet.
-
Create the Bowl: You can use a small metal socket or a glass piece that fits into the top of the downstem. If you’re using a socket, drill a small hole at the bottom to allow smoke to flow through.
-
Fill the Bottle with Water: Add just enough water to the bottom of the bottle to cover the downstem when it's inserted. The water will filter and cool the smoke, providing smoother hits.
-
Enjoy: Once everything is sealed and in place, light your material, and enjoy the smooth, bubbling experience of your DIY bubble bong.
2. Beaker Bong: Classic Design with a Twist
A beaker bong offers a classic and sturdy design, and it’s incredibly easy to make at home. The signature beaker shape is ideal for water filtration, helping you achieve clean, smooth hits.
Materials You’ll Need:
- A glass or plastic bottle (preferably with a wide base)
- A metal downstem (or a straw if you don't have a metal one)
- A rubber seal (or tape)
- A small glass bowl or a metal socket
- Scissors or a knife
How to Make It:
-
Prepare the Base: Choose a bottle with a wide base (such as a soda bottle). Cut the bottom of the bottle off so you can easily access the water chamber. The wider the base, the better the filtration.
-
Create the Downstem: Take a straw or a piece of tubing, and insert one end through the side of the bottle to create the downstem. Use tape or a rubber grommet to make sure the connection is airtight.
-
Add the Bowl: Attach a small metal socket or a glass bowl to the top of the downstem. If you're using a socket, make sure it has a hole at the bottom to allow the smoke to pass through.
-
Water Filtration: Fill the bottom with water, ensuring the downstem is submerged about an inch or two. This allows the water to filter the smoke as you inhale.
-
Seal and Enjoy: Once everything is assembled, seal the top of the bottle with a cap (or just hold the bowl in place), light up, and enjoy a smooth and clean hit from your DIY beaker bong.
3. Tube Bong: Sleek and Simple for Smooth Hits
For a more straightforward, minimalist option, a tube bong is perfect. A tube bong has a simple design, making it a great choice for beginners or anyone looking for a no-fuss smoking device.
Materials You’ll Need:
- A long plastic or glass tube
- A downstem (metal or plastic)
- A glass or metal bowl
- A rubber grommet or tape
How to Make It:
-
Prepare the Tube: Start with a long tube, preferably something sturdy like a glass or hard plastic straw. You’ll want the tube to be long enough to provide sufficient space for smoke to travel through before being inhaled.
-
Attach the Downstem: Drill a small hole near the bottom of the tube and insert your downstem into it. Make sure the hole is just big enough for the downstem to fit tightly. Seal any gaps with tape or rubber to prevent air leaks.
-
Create the Bowl: Attach a small bowl to the top of the downstem. You can use a metal socket or a glass bowl for this.
-
Fill with Water: Fill the tube with water so that it covers the bottom of the downstem. This will allow the smoke to filter through and cool down as you inhale.
-
Test and Enjoy: Once everything is in place, test your tube bong by lighting your material and taking a smooth hit.
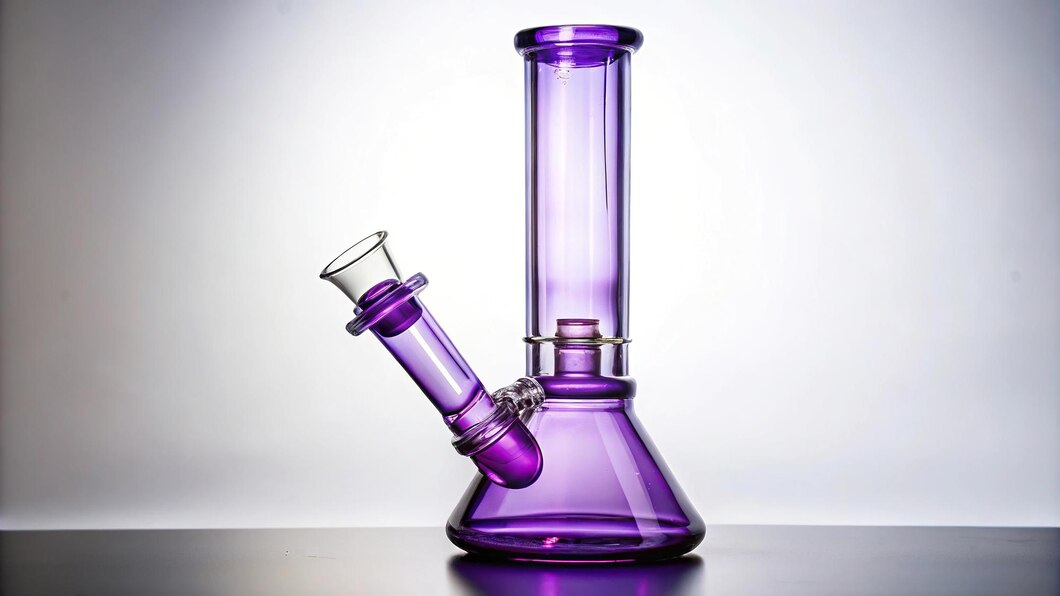
4. Glass Beaker Bong: A Touch of Elegance for DIY Enthusiasts
If you're looking for something a bit more sophisticated and durable, a glass beaker bong is a great option. While this may require a little more skill and care to make, it provides an elegant design and a smooth, enjoyable smoking experience.
Materials You’ll Need:
- A glass bottle (or a glass jar)
- A glass downstem
- A glass bowl
- Water
- Rubber seal (or adhesive)
How to Make It:
-
Choose Your Glass Container: Start by selecting a glass jar or bottle with a wide base for the beaker shape. Cut the neck of the bottle to create a clean, even opening at the top.
-
Insert the Downstem: Insert the glass downstem into the hole near the bottom of the jar. Make sure the downstem fits snugly, sealing the edges with a rubber grommet or adhesive.
-
Add Water: Fill the jar with enough water to cover the bottom of the downstem, allowing for optimal filtration.
-
Secure the Bowl: Attach your glass bowl to the downstem. Ensure it fits tightly to avoid any leaks.
-
Final Touches: Check that everything is sealed properly. Then, enjoy the clean and smooth experience of your glass beaker bong.
FAQs About DIY Bong Making
Q1: Can I make a bong from any material?
While you can technically make a bong from many materials, it’s best to use heat-resistant, non-toxic materials such as glass or high-quality plastic. Avoid using materials like rubber or vinyl, as they can release harmful chemicals when heated.
Q2: How do I make sure my bong is airtight?
To ensure your bong is airtight, use materials like rubber grommets or electrical tape to seal any gaps around the downstem and bowl. It’s essential to check that no air escapes to ensure smooth hits.
Q3: Is it safe to use a plastic bottle for a bong?
Yes, using a plastic bottle is generally safe for a DIY bong as long as you’re not using low-quality plastic that may release toxins when heated. For better safety, opt for BPA-free plastic or glass.
Q4: What’s the difference between a bubble bong and a beaker bong?
A bubble bong typically has a round, bulbous base that creates more filtration, while a beaker bong features a wide, stable base that also helps with water filtration. Both designs offer smooth smoking experiences, but their shapes differ in aesthetics and function.
Conclusion
Making your own bong at home is a creative and budget-friendly way to enjoy smoother hits. Whether you choose a bubble bong, a beaker bong, or a tube bong, the process is simple and fun. Plus, you get to customize the design to fit your preferences! So gather your materials, get creative, and start crafting your own personalized bong. Your next smoking session will be even more enjoyable with a homemade piece you created yourself. Happy crafting!